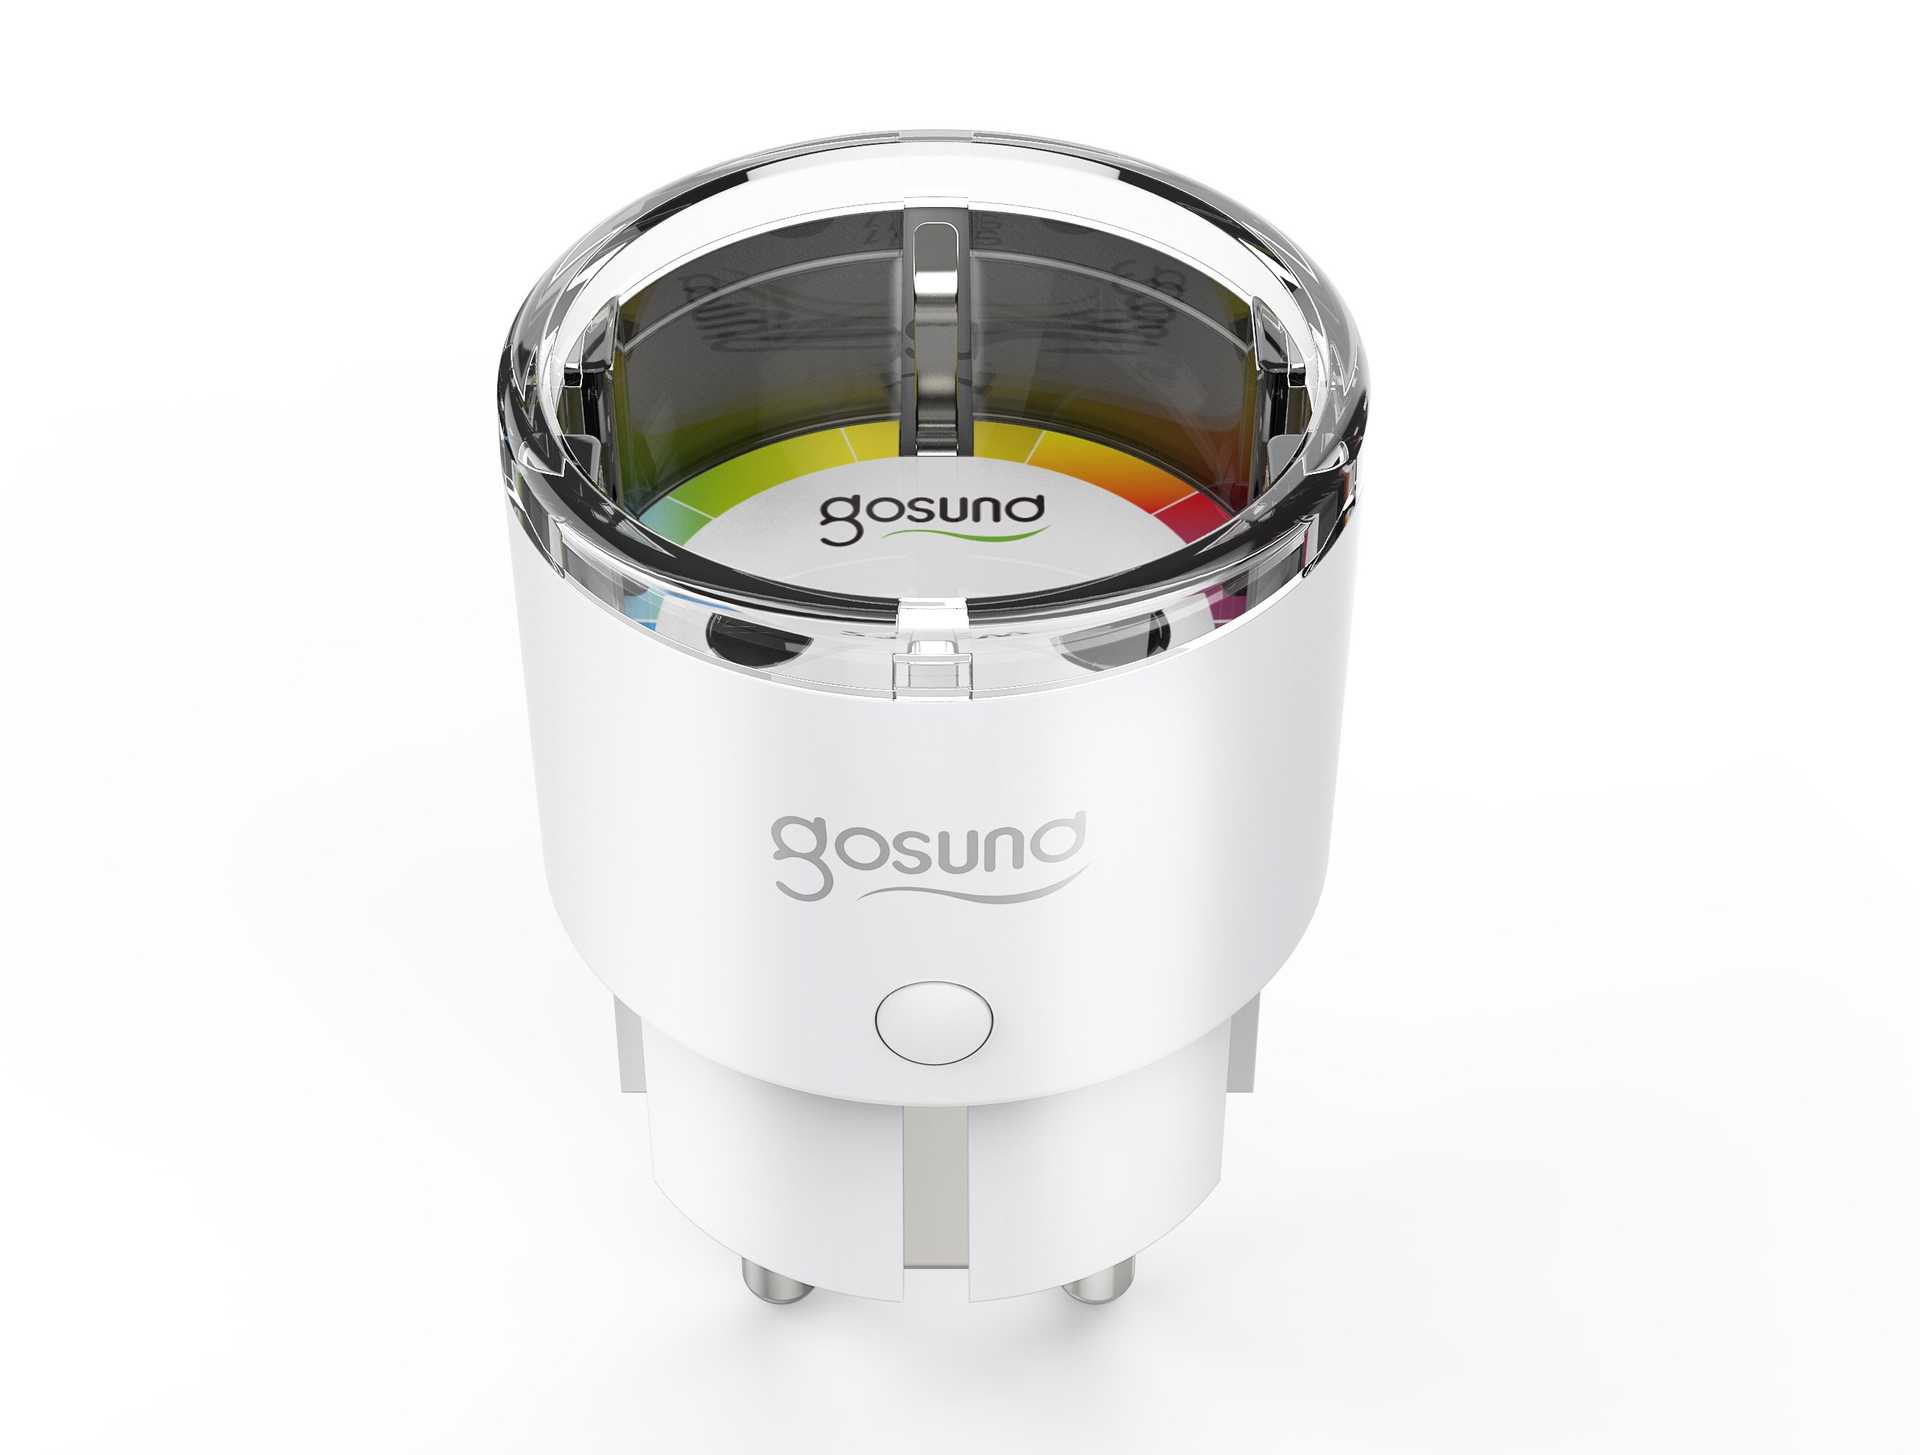
The Gosund SP111 is a smart Wi-Fi plug with energy monitoring and 15A power. They come at a good price and use an ESP8266 which runs Tuya Smart/Smart Life, this is the reason that I've bought a bunch of these and flashed them to ESPHome.
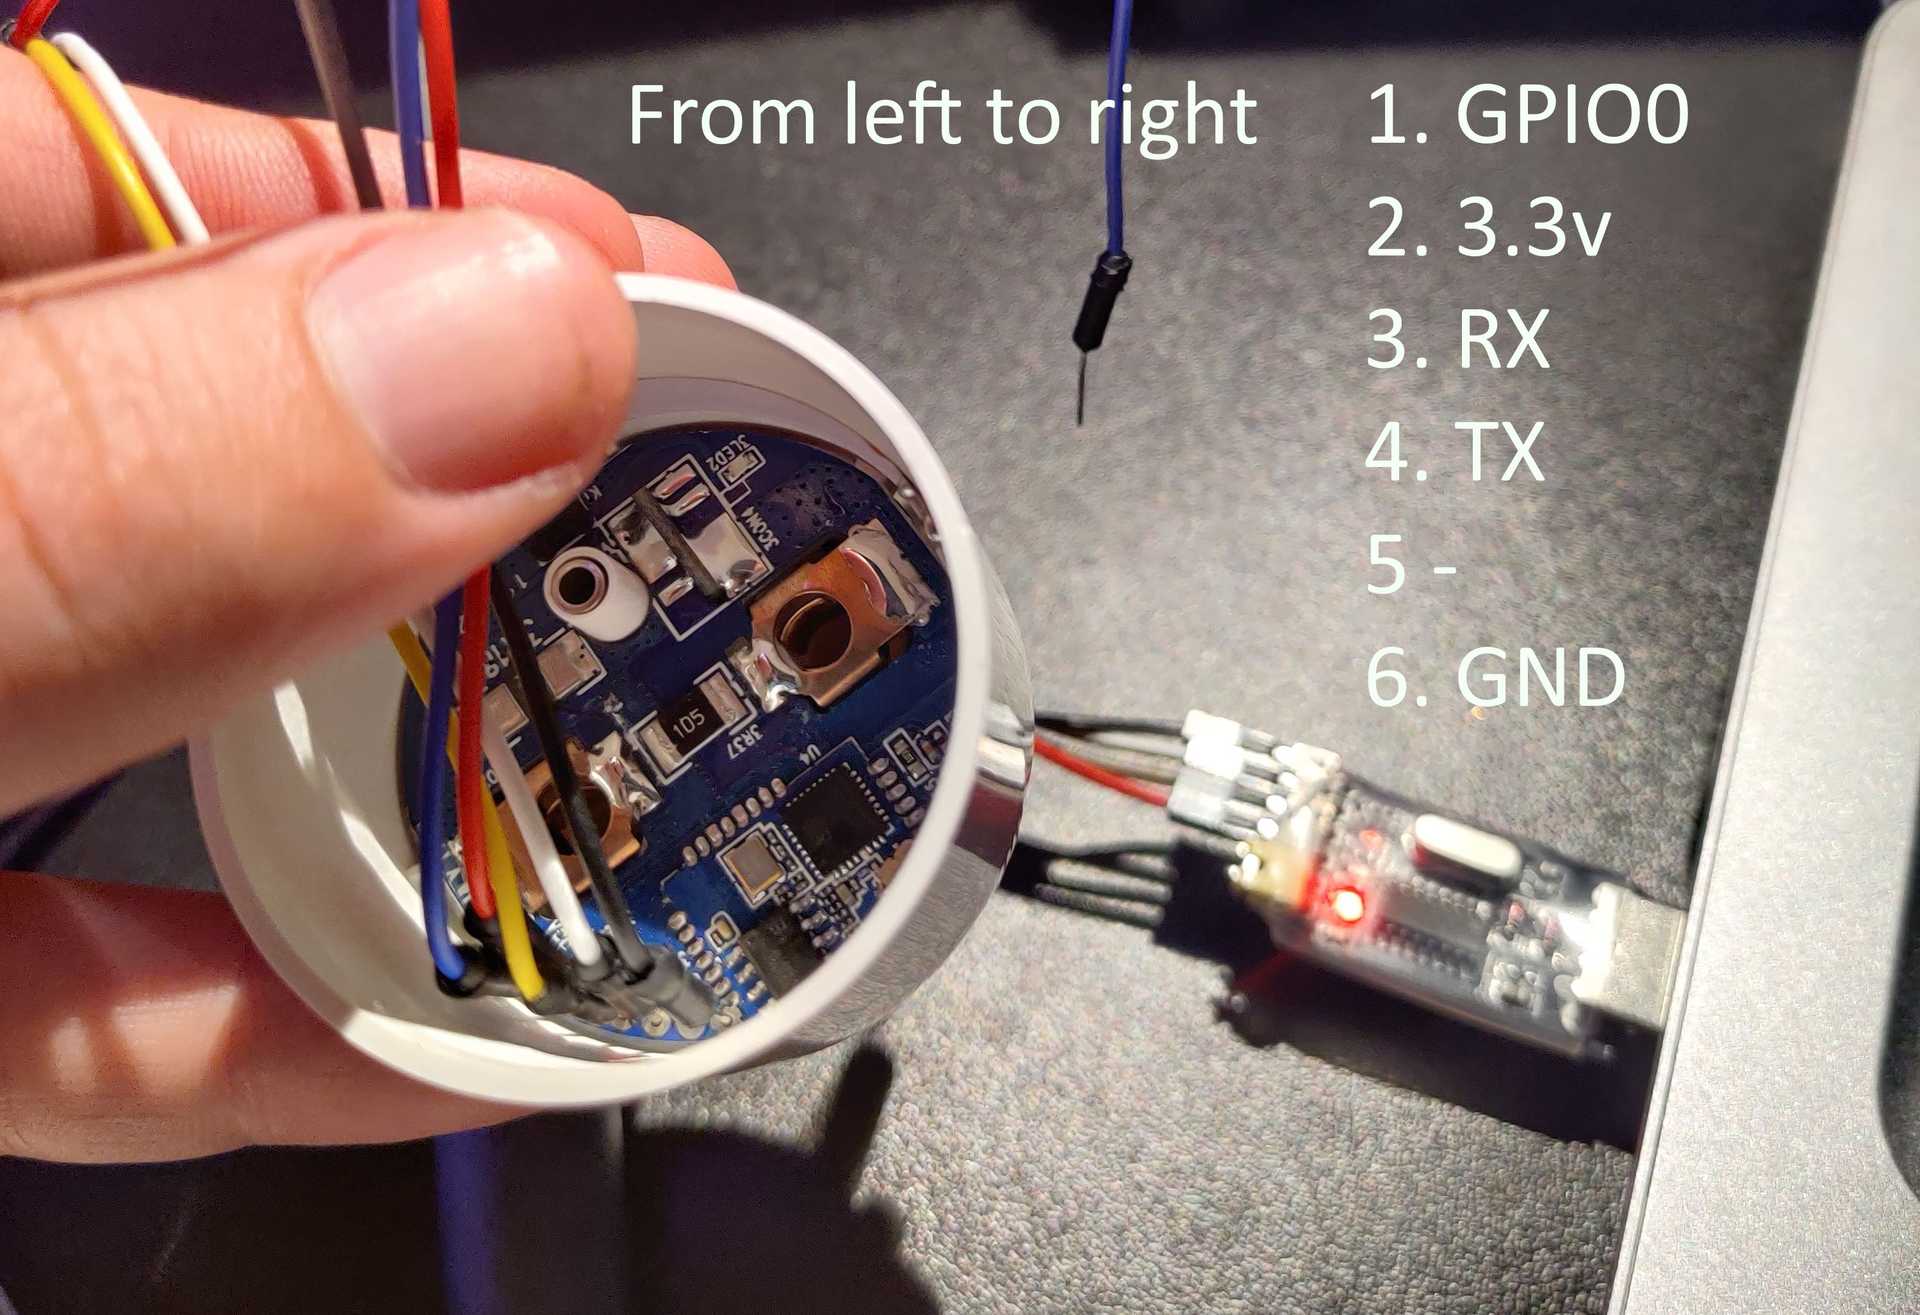
All but one of them could be flashed wirelessly via tuya-convert. One of them however needed to be opened and flashed with a USB TTL Converter. The outlets open easily via a screw on the bottom in the hole on the earth connector. Once opened the contact points for connecting the TTL converter are exposed.
Flashing with TTL Converter
You just connect the RX on your TTL to the TX on the SP111 and the TX on the TTL to the RX on the SP111. 3.3v and GND are connected to their respective pins
| TTL | SP111 |
|---|---|
| 3.3v | 3.3v |
| GND | GND |
| RX | TX |
| TX | RX |
| GND* | GPIO0 |
* Connected a couple of seconds when power is connected to enter flash mode.
After that it was just a matter of using esptool to flash the SP111.
First erasing the flash
sudo esptool.py --port /dev/ttyUSB0 erase_flashAnd then writing the firmware to it. sp111 being the firmware generated by ESPHome below.
sudo esptool.py --port /dev/ttyUSB0 write_flash -fs 1MB -fm dout 0x0 sp111.binGenerating firmware in ESPHome
The firmware is generated by compiling one of the yamls below in ESPHome and then downloading that file to the working directory of esptool. I've created two different yamls depending on if you wish to show your SP111 as a light or a switch in Home assistant.
SP111 exposed as a light source
| substitutions: | |
| plug: "Kitchen window" | |
| plug_internal: kitchen_window | |
| voltage_divider: "771" | |
| current_resistor: "0.0012" | |
| esphome: | |
| name: $plug_internal | |
| platform: ESP8266 | |
| board: esp8285 | |
| wifi: | |
| ssid: !secret wifiname | |
| password: !secret wifipass | |
| # Enable fallback hotspot (captive portal) in case wifi connection fails | |
| ap: | |
| ssid: "${plug} fallback hotspot" | |
| password: "3XtYLy5n2pgc" | |
| captive_portal: | |
| # Enable logging | |
| logger: | |
| # Enable Home Assistant API | |
| api: | |
| ota: | |
| web_server: | |
| port: 80 | |
| sensor: | |
| # Power sensor | |
| - platform: hlw8012 | |
| voltage_divider: $voltage_divider | |
| current_resistor: $current_resistor | |
| sel_pin: | |
| number: GPIO12 | |
| inverted: true | |
| cf_pin: GPIO05 | |
| cf1_pin: GPIO04 | |
| change_mode_every: 3 | |
| update_interval: 5s | |
| # Current sensor | |
| current: | |
| name: "${plug} current" | |
| unit_of_measurement: A | |
| accuracy_decimals: 3 | |
| # Voltage sensor | |
| voltage: | |
| name: "${plug} voltage" | |
| unit_of_measurement: V | |
| accuracy_decimals: 1 | |
| # Power sensor | |
| power: | |
| id: power | |
| name: "${plug} power" | |
| unit_of_measurement: W | |
| accuracy_decimals: 0 | |
| filters: | |
| - multiply: 0.5 | |
| binary_sensor: | |
| # Binary sensor for the button press | |
| - platform: gpio | |
| name: "${plug} button" | |
| pin: | |
| number: GPIO13 | |
| inverted: true | |
| on_press: | |
| - light.toggle: internal_light | |
| output: | |
| # Relay state led | |
| - platform: esp8266_pwm | |
| id: state_led | |
| pin: | |
| number: GPIO2 | |
| inverted: true | |
| - platform: gpio | |
| id: light_relay | |
| pin: GPIO15 | |
| light: | |
| # Relay state light | |
| - platform: monochromatic | |
| output: state_led | |
| id: led | |
| - platform: binary | |
| name: $plug | |
| output: light_relay | |
| id: internal_light | |
| on_turn_on: | |
| - light.turn_on: led | |
| on_turn_off: | |
| - light.turn_off: led | |
| # Uses the red LED as a ESPhome status indicator | |
| status_led: | |
| pin: | |
| number: GPIO0 | |
| inverted: true |
SP111 exposed as a switch
| # Just change name here | |
| substitutions: | |
| plug: "Kitchen window" | |
| plug_internal: kitchen_window | |
| voltage_divider: "771" | |
| current_resistor: "0.0012" | |
| esphome: | |
| name: ${plug_internal} | |
| platform: ESP8266 | |
| board: esp8285 | |
| wifi: | |
| ssid: !secret wifiname | |
| password: !secret wifipass | |
| # Enable fallback hotspot (captive portal) in case wifi connection fails | |
| ap: | |
| ssid: "${plug} Fallback Hotspot" | |
| password: "3XtYLy5n2pgc" | |
| captive_portal: | |
| # Enable logging | |
| logger: | |
| # Enable Home Assistant API | |
| api: | |
| ota: | |
| web_server: | |
| port: 80 | |
| sensor: | |
| # Power sensor | |
| - platform: hlw8012 | |
| voltage_divider: 771 | |
| # current_resistor: 0.001 | |
| current_resistor: 0.0012 | |
| sel_pin: | |
| number: GPIO12 | |
| inverted: true | |
| cf_pin: GPIO05 | |
| cf1_pin: GPIO04 | |
| change_mode_every: 3 | |
| update_interval: 5s | |
| # Current sensor | |
| current: | |
| name: "${plug} current" | |
| unit_of_measurement: A | |
| accuracy_decimals: 3 | |
| # Voltage sensor | |
| voltage: | |
| name: "${plug} voltage" | |
| unit_of_measurement: V | |
| accuracy_decimals: 1 | |
| # Power sensor | |
| power: | |
| id: power | |
| name: "${plug} power" | |
| unit_of_measurement: W | |
| accuracy_decimals: 0 | |
| filters: | |
| - multiply: 0.5 | |
| binary_sensor: | |
| # Binary sensor for the button press | |
| - platform: gpio | |
| name: "${plug} button" | |
| pin: | |
| number: GPIO13 | |
| inverted: true | |
| on_press: | |
| - switch.toggle: relay | |
| switch: | |
| # Switch to toggle the relay | |
| - platform: gpio | |
| id: relay | |
| name: "${plug} relay" | |
| pin: GPIO15 | |
| on_turn_on: | |
| - light.turn_on: led | |
| on_turn_off: | |
| - light.turn_off: led | |
| output: | |
| # Relay state led | |
| - platform: esp8266_pwm | |
| id: state_led | |
| pin: | |
| number: GPIO2 | |
| inverted: true | |
| light: | |
| # Relay state light | |
| - platform: monochromatic | |
| output: state_led | |
| id: led | |
| # Uses the red LED as a ESPhome status indicator | |
| status_led: | |
| pin: | |
| number: GPIO0 | |
| inverted: true |

